The image backup feature in Windows 8.1 and Windows 10 includes a bit-by-bit copy of the entire system. This backup contains the full installation of the operating system, settings, desktop programs, Windows apps, and all your personal files.
The major benefit of this feature is that it offers a complete restore solution in case of a critical software error or hardware failure.
The downside is that you cannot choose to restore individual files. It's meant to restore everything, bit-by-bit to the same (or replacement) hard drive. (Though, you can easily access the backup files and extract documents, photos, music, and other files, if you need to.)
In addition, if you don't backup regularly and a system failure occurs, you could lose valuable documents, settings and software because you can only restore the data since the last backup.
For these and various other reasons, Microsoft introduced two new reset features in Windows 8 -- and they are still available in Windows 10. Use these features in combination with File History to keep an up to date copy of all of your documents offered a more robust backup solution.
Despite some drawbacks, it's a solid backup solution.
The following instructions are to perform an image backup in Windows 10, but these steps work perfectly in Windows 8.1 as well.
1- Right-click the Start button and launch Control Panel.
2- Click File History.
3- While in File History, click the System Image Backup link in the bottom-left corner of the screen.
4- Connect an external USB hard drive with enough free space.
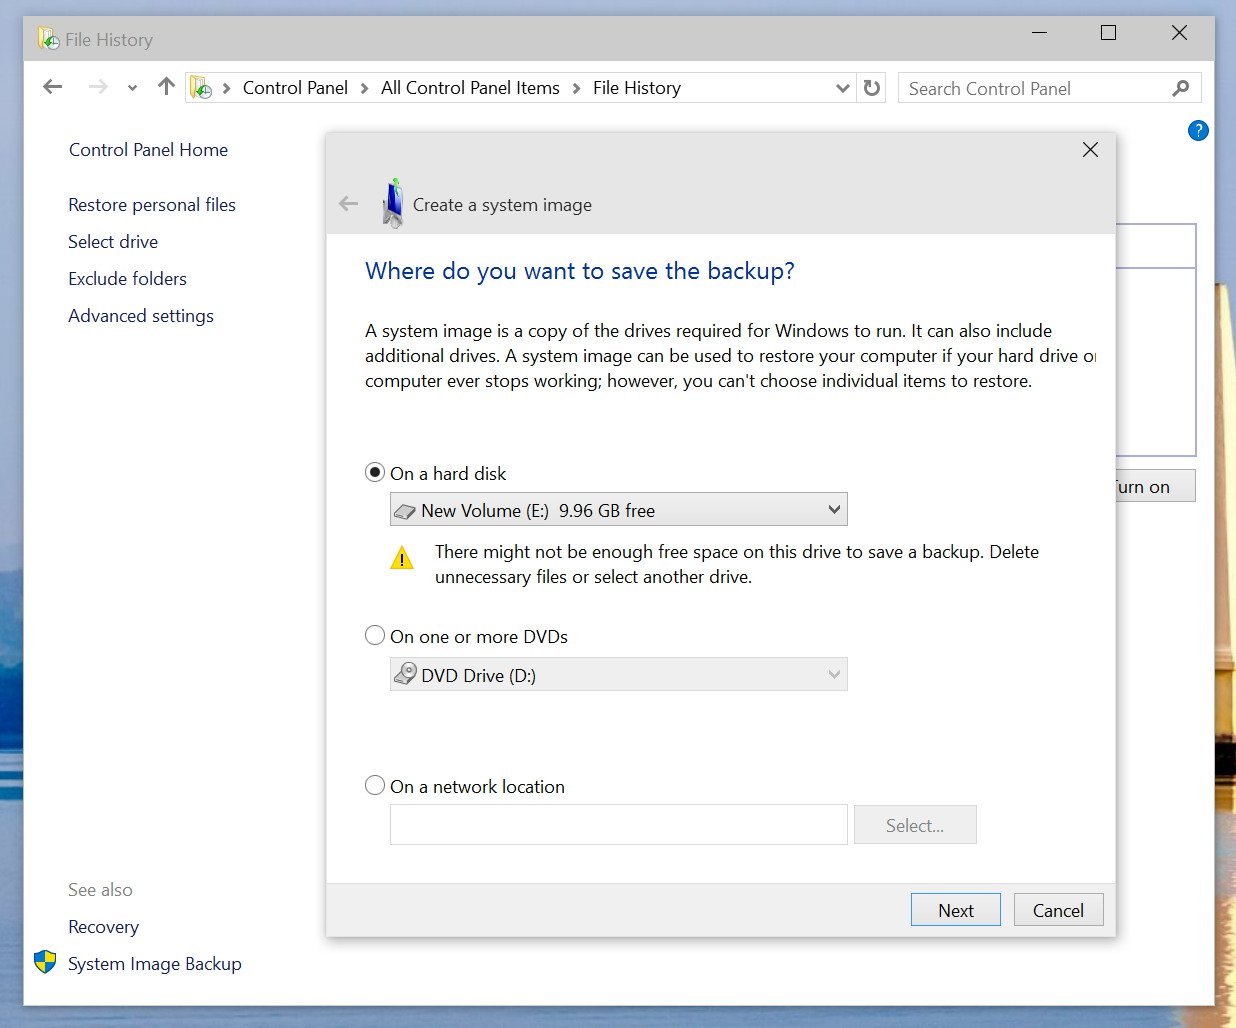
5- In the backup wizard, you'll be prompted to choose from one of the three options to save the backup. For this example, we are going select the hard drive you just connected. However, keep in mind that you can backup to DVD blanks and a network share, but these options will slow down the backup process.
6- Click Next.
7- Confirm and begin the process by clicking Start backup.

The backup could take anywhere from 10 minutes to 2 hours, it all depends on the amount of data to be backed up.
And yes, during the backup process, you can use your computer as you would normally do.
After the System Image Backup utility completes the task, remember to keep the hard drive in a safe place.
Although, a lot of tech savvy users are aware of how to perform a full backup in Windows, you'll be surprised how many people fail to know the basics. Often times I get asked questions such as: "I upgraded my system and now Windows won't boot, how can I rollback?". Or "My hard drive is ruined, is there any way to recover my data?", and most of the times a simple backup could have saved them a lot of troubles.
How often do you do a full backup of your computer? What software do you use? Let us know your backup experience in the comments below!
Update: To restore your computer from backup, connect the drive with the system image backup and reboot your computer with the Windows installation media. During the Windows Setup, clickNext, then click the Repair your computer link in the bottom-left corner of the screen. Click onTroubleshoot, click Advanced options, and select System Image Recovery. Now select the target operating system you want to recover, click Next and Finish
No comments:
Post a Comment